 Pin
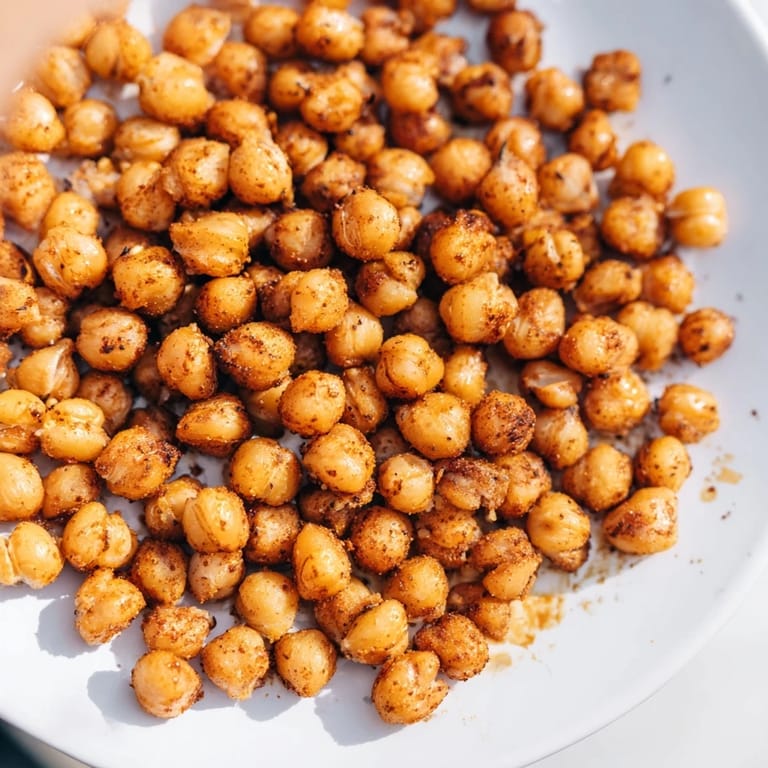
Pin I discovered these crispy chickpeas by accident on a lazy Sunday afternoon when I was rummaging through my pantry, staring at a forgotten can of chickpeas and wondering why I'd bought it. A handful of spices and 35 minutes later, I had this addictive snack that tasted nothing like the mushy chickpeas I'd failed to cook properly years before. My roommate walked in mid-roast, caught the aroma of cumin and smoked paprika, and refused to leave the kitchen until they were done. Now I make them constantly—sometimes for myself at 3 PM when I need something to crunch on, sometimes for guests who suddenly understand why I always have them around.
The first time I made these for a dinner party, I was so focused on perfecting the main course that I almost forgot to pull these out of the oven. My friend grabbed a handful straight from the cooling pan, and their immediate "Oh wow, these are actually amazing" was worth more than any compliment about the fancy entrée. It became a running joke—people would show up asking what the crispy chickpea snack was before even saying hello. That's when I realized I'd stumbled onto something special, something that bridges the gap between "I'm being healthy" and "I'm genuinely enjoying this."
Ingredients
- Chickpeas (1 can, drained and rinsed): The cans are convenient, but the rinsing step matters more than you'd think—it removes the starchy liquid that can make them steam instead of crisp.
- Olive oil (2 tbsp): This is what carries the seasoning and creates that golden exterior, so don't skip it or swap it for cooking spray if you want real crunch.
- Smoked paprika (1/2 tsp): This spice does the heavy lifting flavor-wise; it gives warmth and depth that straight paprika can't match.
- Ground cumin (1/2 tsp): A small amount goes a long way—it's what makes them taste slightly exotic without overpowering.
- Sea salt (1/2 tsp): Season to taste at the end; some of it will caramelize on the chickpeas, so the flavor concentrates.
- Garlic powder (1/4 tsp) and black pepper (1/4 tsp): These build a savory foundation that keeps everything balanced.
- Cayenne pepper (optional, 1/4 tsp): Add this if you want heat, but start small—it intensifies as the chickpeas roast.
- Nutritional yeast (optional, 1 tbsp): If you use it, toss it in near the end of roasting so it toasts rather than burns and tastes oddly bitter.
Tired of Takeout? 🥡
Get 10 meals you can make faster than delivery arrives. Seriously.
One email. No spam. Unsubscribe anytime.
Instructions
- Preheat and prep:
- Set your oven to 200°C (400°F) and line a baking sheet with parchment paper so cleanup is almost nonexistent. The parchment also prevents sticking and helps with even browning.
- Dry those chickpeas:
- Pat them down with a clean kitchen towel like you mean it—the drier they are, the crispier they become. You're essentially removing the enemy of crispness, which is moisture.
- Season generously:
- In a large bowl, toss the chickpeas with olive oil and all your seasonings, stirring until every single chickpea is coated. This is where the magic flavor happens, so don't rush it.
- Spread and roast:
- Pour them onto the prepared baking sheet in a single layer—don't pile them up or they'll steam in the middle. Pop them in the oven for 35 minutes, giving them a shake or stir every 10 minutes.
- Cool and crisp:
- When they're golden and smell absolutely incredible, pull them out and let them cool on the pan. They'll firm up even more as they cool, reaching that perfect crunch you're after.
 Pin
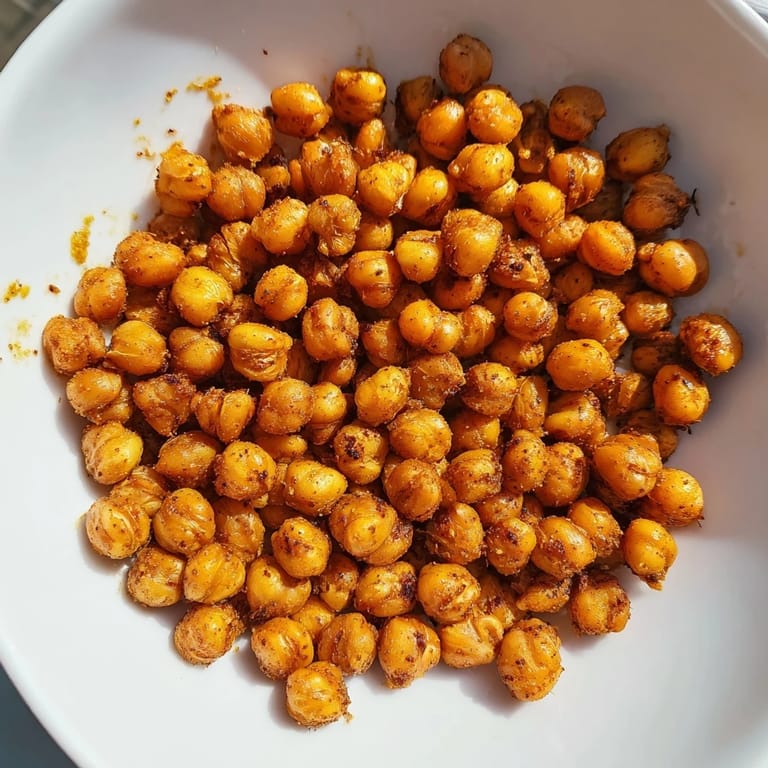
Pin I had someone at a party ask if these were store-bought because they couldn't believe something this simple tasted this good. That moment made me realize that the best recipes aren't about being complicated or fancy—they're about getting the fundamentals right and letting the ingredients do their job. These chickpeas are proof that sometimes the most satisfying snacks come from knowing exactly what you're doing, even if what you're doing is ridiculously straightforward.
Flavor Variations That Actually Work
Once you nail the basic technique, the seasoning world opens up. I've roasted batches with curry powder and a pinch of turmeric for an Indian vibe, Italian herbs with a little lemon zest for something Mediterranean, and even a chili-lime combo that became dangerously addictive. The beauty of this recipe is that the chickpea itself is a blank canvas—it takes on whatever personality you give it without losing its fundamental crunch.
Why This Beats Store-Bought
Store-bought roasted chickpeas often have that slightly stale taste or an odd texture that's almost crispy but not quite—because they've been sitting in packaging for weeks. When you make them fresh, you get that exact moment of maximum crunch, and you control exactly what goes into your body. Plus, the aroma in your kitchen is something no commercial product can replicate.
Storage and Make-Ahead Wisdom
These are best eaten within a day or two when they're at peak crunch, but they'll keep for up to 3 days in an airtight container at room temperature. If they ever soften up, you can re-crisp them in a 180°C oven for 5 minutes—they bounce back beautifully.
- Cool them completely before storing so steam doesn't make them soggy.
- Use them as a salad topper, a snack straight from the container, or mixed into grain bowls for texture.
- Make a double batch if you're hosting because they disappear faster than you'd expect.
 Pin
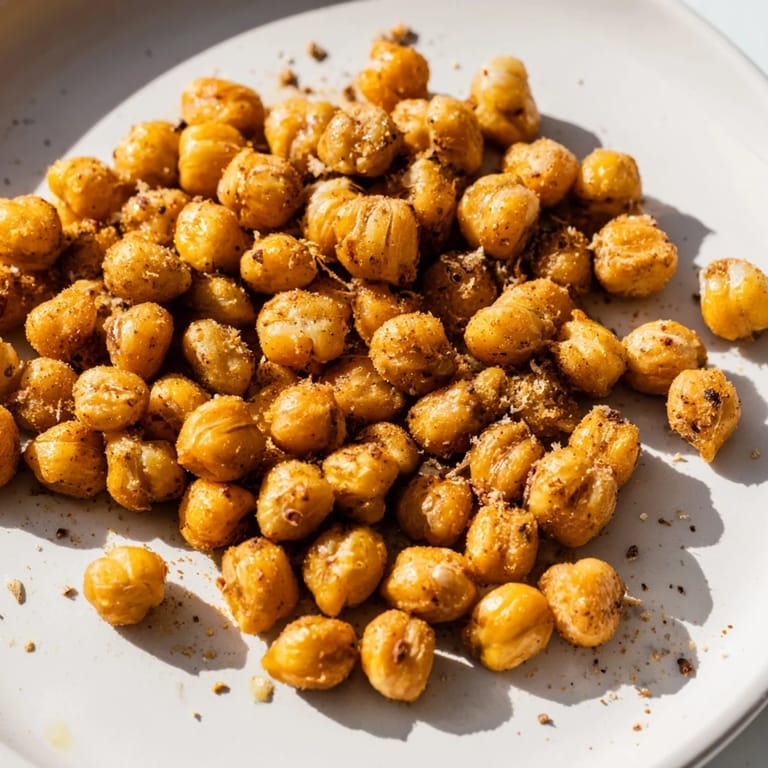
Pin This snack taught me that sometimes the best things in cooking come from happy accidents and paying attention to small details. Keep these around and you'll never feel like you're choosing health over satisfaction.
Recipe FAQ
- → How do I achieve maximum crispiness?
Pat chickpeas dry thoroughly before tossing with oil and spices; roasting at high temperature and stirring every 10 minutes helps ensure even crispness.
- → Can I customize the seasoning?
Yes, try adding spices like curry powder, Italian herbs, chili lime, or cayenne pepper for varied flavor profiles.
- → How should I store the snack?
Allow chickpeas to cool completely before storing in an airtight container at room temperature for up to 3 days to maintain crunch.
- → Is this suitable for vegan and gluten-free diets?
Yes, the ingredients used are vegan and gluten-free, making it a healthy, inclusive snack option.
- → What are some serving suggestions?
Enjoy as a crunchy snack on its own, or use as a topping for salads and grain bowls to add texture and protein.