 Pin
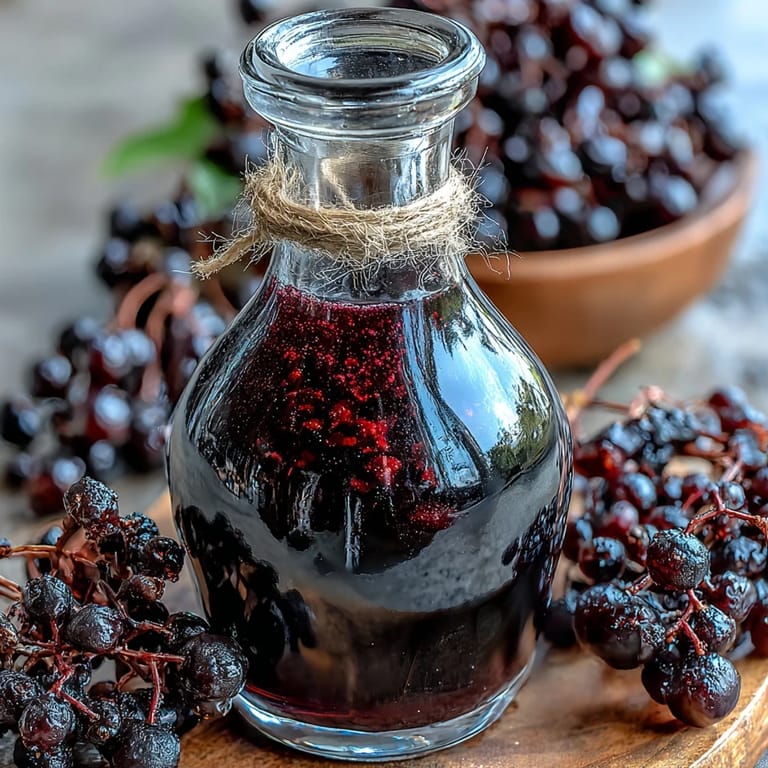
Pin There's something quietly magical about watching clear vodka transform into deep purple liquid over the course of a few weeks. I discovered blackcurrant liqueur entirely by accident—a friend left a jar of frozen blackcurrants in my freezer, and instead of tossing them, I decided to experiment. What started as idle curiosity turned into one of my favorite kitchen projects, something that requires almost no skill but rewards patience with genuinely impressive results.
I made my first batch during a rainy October, when the kitchen felt cozy and I had time to think about winter ahead. By late December, I was pouring it over ice for friends who'd drop by, and watching their faces light up when they tasted something so smooth and fruity was worth every day of waiting. That moment—when someone asks for the recipe and you get to tell them it's homemade—that's when you know you've made something worth the patience.
Ingredients
- Fresh or frozen blackcurrants (500 g): These are the star, bringing deep fruity notes and natural tannins that develop beautifully over time. Frozen work just as well as fresh, and honestly, they're easier to find and often less expensive.
- Quality neutral vodka (750 ml): Don't use the cheapest bottle you can find, but you don't need premium either. Mid-range vodka lets the blackcurrant flavor shine without any harsh edge.
- Granulated sugar (250–350 g): The amount genuinely depends on how you like your liqueurs. Start at 250 g if you prefer something tart and sipping-friendly, or go to 350 g for a sweeter, dessert-style drink.
Tired of Takeout? 🥡
Get 10 meals you can make faster than delivery arrives. Seriously.
One email. No spam. Unsubscribe anytime.
Instructions
- Prepare your berries and jar:
- Rinse your blackcurrants and remove any stems or leaves (a small colander makes this easier than you'd think). Pat fresh berries dry with paper towels—any extra moisture dilutes your final liqueur. Sterilize your jar by washing it in hot soapy water or running it through the dishwasher, then let it air-dry completely.
- Layer everything in:
- Put the blackcurrants into your jar first, then sprinkle the sugar evenly over them. Pour the vodka in slowly, watching the color start to bleed into the liquid immediately. The berries should be completely covered by vodka.
- Seal and begin:
- Screw the lid on tight, then give the jar a gentle shake to start dissolving the sugar. You'll notice the sugar sitting on the bottom—this is normal and it will dissolve as you go.
- The patient part:
- Store your jar in a cool, dark place (a kitchen cabinet or the back of a pantry works perfectly). Every 2–3 days, give it a gentle shake to help the sugar dissolve and ensure even infusion. You're not stirring vigorously; just a soft swirl is enough.
- Taste and strain:
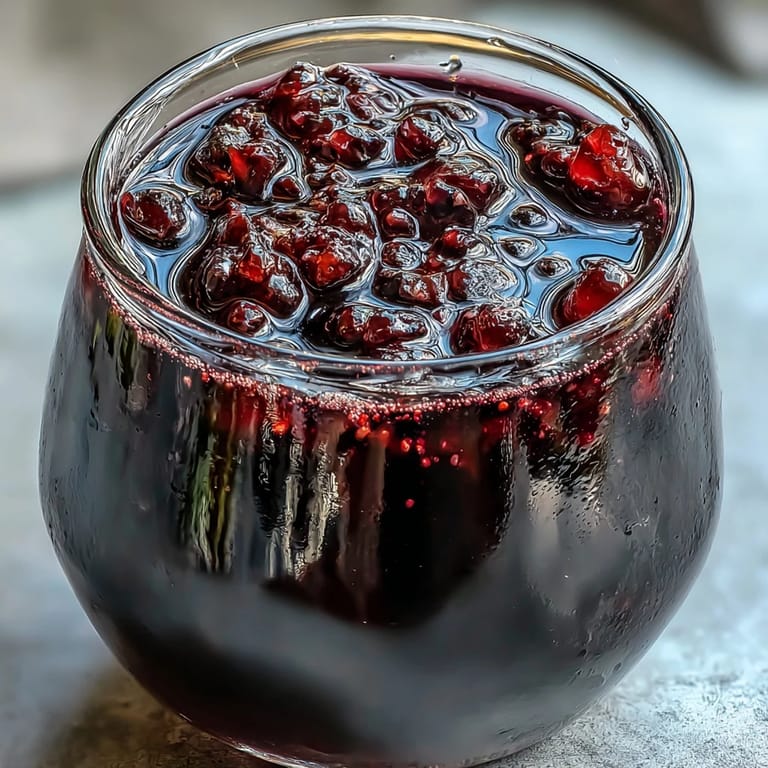
- After 3 weeks, open the jar and taste a tiny bit. If the flavor feels rich and full, you're ready; if it tastes thin, give it another week or two. When you're happy, pour everything through a fine sieve or muslin cloth into a clean bottle, discarding the spent berries or saving them for baking.
- The final wait:
- Seal your bottled liqueur and let it rest in a cool, dark place for another 2–4 weeks if you can manage it. This maturation time brings everything into harmony, though honestly, it's drinkable right away if you're eager.
 Pin
Pin The moment that made this recipe stick with me happened when my neighbor tasted it and asked if I'd considered selling it. I laughed, but something shifted—I realized that homemade doesn't mean amateur or experimental. This simple infusion taught me that some of the best things in cooking come from doing almost nothing, just showing up consistently and letting time do the work.
Tweaking the Flavor
The beauty of making your own liqueur is that you can adjust it to your exact taste. Like things tart and punchy? Reduce the sugar to 250 g and taste earlier, around week 2. Prefer something silky and dessert-like? Go up to 350 g and let it infuse the full 6 weeks. I've also experimented with adding a strip of lemon zest or a split vanilla bean during infusion, and both add an unexpected layer of sophistication without any extra effort.
How to Use It
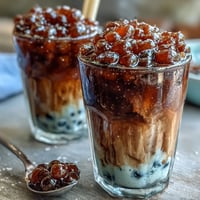
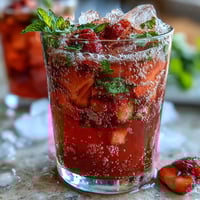
Serve this chilled in small glasses as a digestif after dinner—it's smooth enough to sip slowly and impressive enough to make guests feel special. It also works beautifully in cocktails, particularly with vodka or gin, or stirred into sparkling water for a simple aperitif. I've even drizzled it over vanilla ice cream or into cake batters, where the fruity depth adds something no bottled extract can match.
Storing and Gifting
Once matured, your liqueur keeps for years in a cool, dark place. The alcohol acts as a natural preservative, so you don't need to refrigerate it, though chilling before serving makes it taste even smoother. If you're giving it as a gift, pour it into a pretty bottle with a handwritten label noting the date and infusion time—homemade liqueur is one of those gifts that feels genuinely thoughtful without requiring complicated technique.
- Always taste your infusion before serving to make sure you're happy with the flavor strength.
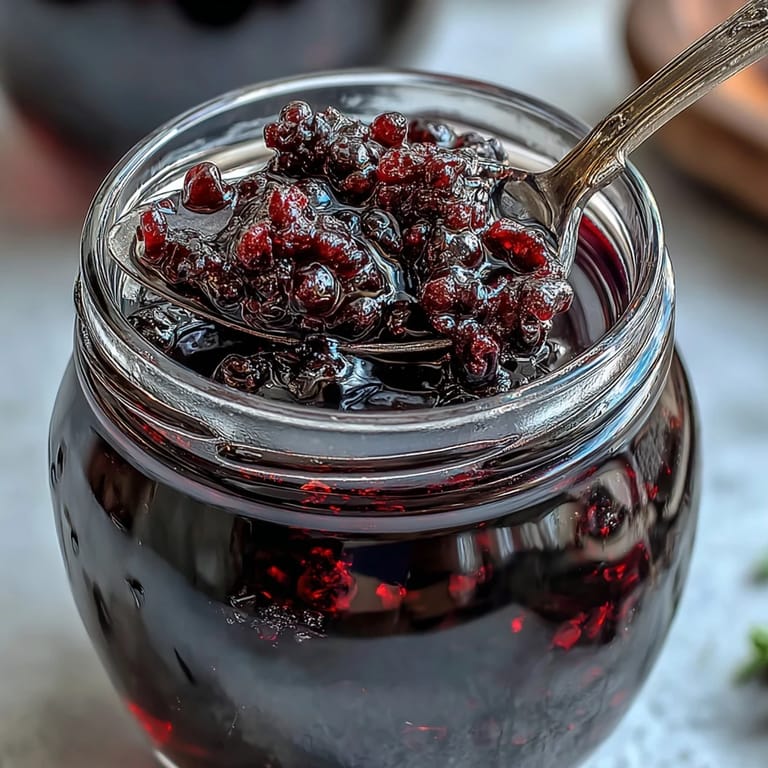
- Save those spent blackcurrants for a simple jam or fold them into cake batter for extra moisture.
- If you fall in love with this process, try infusing other berries or even sloe gin using the same method.
 Pin
Pin There's nothing quite like opening a jar three weeks later and finding liquid gold inside. This blackcurrant liqueur reminds you that some of the most rewarding kitchen projects ask very little of you except patience and a willingness to wait.
Recipe FAQ
- → How long does blackcurrant vodka take to infuse?
The infusion process takes 3–6 weeks for optimal flavor development. Taste after 3 weeks and continue infusing until the depth of flavor suits your preference. The liqueur continues to mature and improve during storage.
- → Can I use frozen blackcurrants instead of fresh?
Absolutely. Frozen blackcurrants work beautifully and often release their juices more readily. Thaw them slightly before adding to the jar, and include any juices from thawing for maximum flavor extraction.
- → What type of vodka works best for homemade liqueur?
A quality neutral vodka provides the cleanest base for the blackcurrant flavor to shine. Avoid heavily flavored or very inexpensive vodillas as their harsh notes may persist through the infusion process.
- → How should I store the finished liqueur?
Keep your bottled blackcurrant vodka in a cool, dark place away from direct sunlight. A cupboard or pantry works perfectly. The high alcohol content and sugar act as natural preservatives, allowing the liqueur to last for years when properly sealed.
- → What can I do with the strained blackcurrants?
The alcohol-infused berries make excellent additions to baked goods like cakes, muffins, or crumbles. They can also be simmered with additional sugar to create a unique jam, or folded into whipped cream for a dessert topping.
- → Can I reduce the amount of sugar?
Certainly. Adjust the sugar from 250g down to as little as 150g for a tarter, less sweet result. Taste during infusion and add more dissolved sugar if desired. The natural fruit sugars provide some sweetness regardless.