 Pin
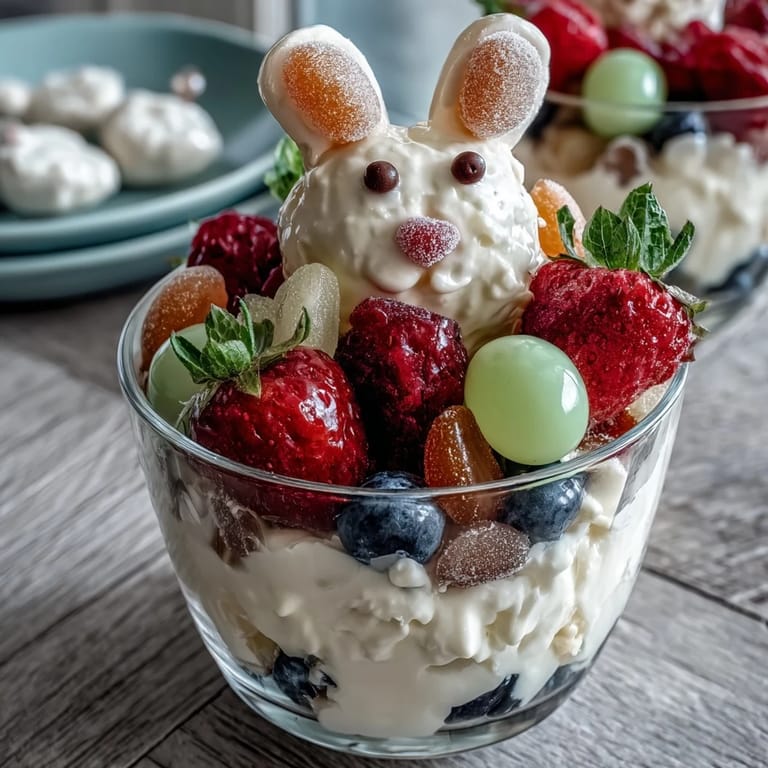
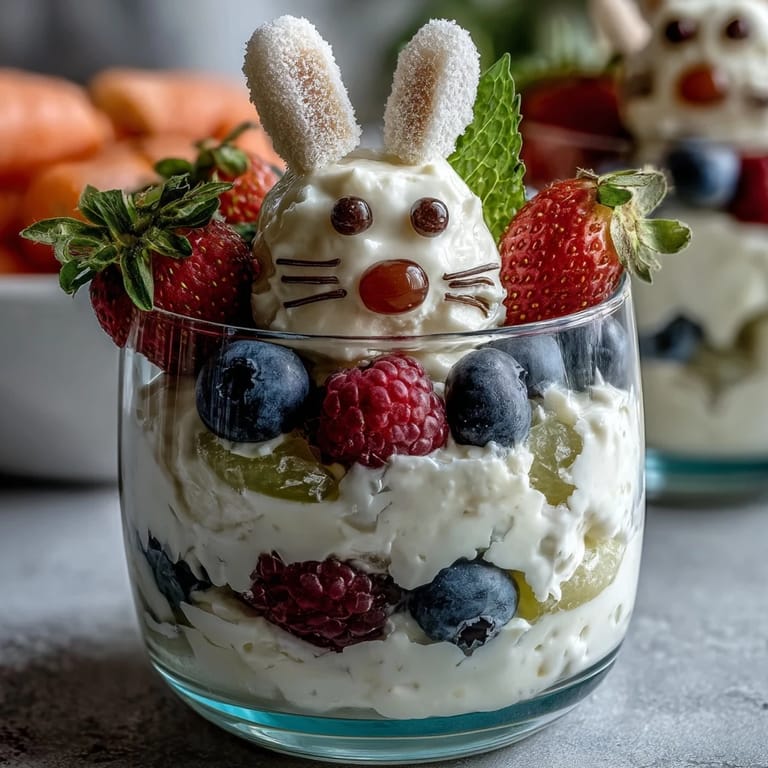
Pin My daughter burst into the kitchen last spring asking if we could make something that looked like a bunny, and I realized I'd been overthinking Easter snacks for years. We grabbed strawberries, grapes, and whatever was in the fruit bowl, then started building these little edible creatures with marshmallows and candy eyes. What started as a rainy afternoon project turned into the kind of snack that made her giggle every time she picked one up. These fruit cups somehow manage to be both ridiculously cute and genuinely wholesome, which feels like winning at parenting in edible form.
I made these for my nephew's Easter party last year, and watching him choose which bunny to eat first because he thought one looked friendlier than the others reminded me that food can be playful and joyful, especially for little ones. My sister asked for the recipe right there at the table, even though I kept insisting it wasn't really a recipe, just assembled silliness. But apparently that's exactly what she needed—something that felt special without requiring her to stress about perfect techniques or timing.
Ingredients
- Strawberries: Hull and dice them fresh—the color pops against the blueberries, and they add natural sweetness that balances the tartness of grapes.
- Green grapes: Halving them makes them easier for small hands to scoop out, and they stay fresh in the cup better than softer fruits.
- Blueberries: These are your fruit bowl's visual anchor, filling gaps and creating that gorgeous deep color contrast.
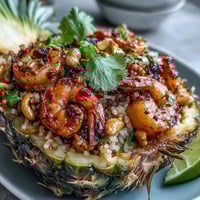
- Pineapple: Fresh diced pineapple brings a brightness and slight tartness that keeps the cup from feeling one-note sweet.
- Large marshmallows: These become the bunny's cheeks—pick a brand that's soft enough to stay squishy and won't dry out during assembly.
- Mini marshmallows: Use these for tiny noses, or swap them for a pink jellybean if you prefer something less fluffy.
- Candy eyes: These are non-negotiable for bunny personality—they make the whole thing instantly recognizable as a face.
- Pink jellybeans or chocolate candies: Your nose options; jellybeans are brighter, but pink-coated chocolates look more elegant if you're going for a slightly older crowd.
- White paper cupcake liners: These fold into surprisingly convincing bunny ears—the white really reads as ears instead of random paper.
- Black edible marker: Essential for whiskers, mouth details, and personality; make sure it's actually food-safe before you start drawing.
- Banana and kiwi: Optional additions that add more color variation and keep the fruit mix fresher tasting if you're making these ahead.
Tired of Takeout? 🥡
Get 10 meals you can make faster than delivery arrives. Seriously.
One email. No spam. Unsubscribe anytime.
Instructions
- Prep Your Fruit Station:
- Wash everything thoroughly and set up your cutting board with a small bowl for waste. Dice and chop according to the ingredient list, keeping your fruit in a large mixing bowl so it's easy to access as you assemble.
- Fill the Cups:
- Divide the mixed fruit evenly among six clear plastic cups, filling them about two-thirds full. This leaves room for the marshmallow faces without the fruit spilling out when kids pick them up.
- Build the Bunny Face:
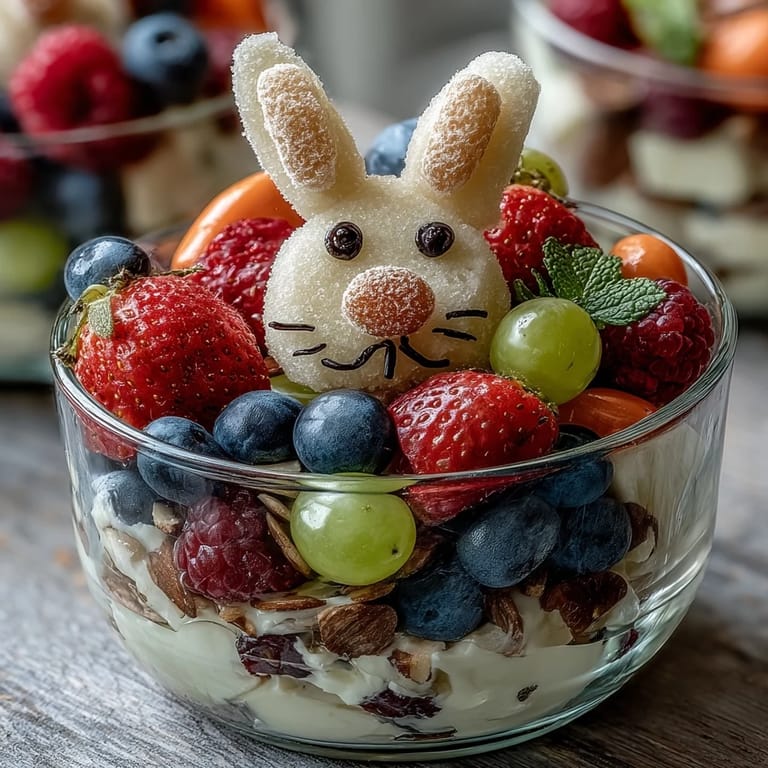
- Place two large marshmallows side-by-side on the front rim of each cup—these are your cheeks and they'll give the bunny that chubby-cheeked look. Position a mini marshmallow or pink jellybean right between them for the nose, securing it with a tiny dab of honey or a small dollop of icing if needed.
- Add the Eyes and Details:
- Stick candy eyes above the cheeks using that same honey or icing adhesive, angling them slightly outward so the bunny looks surprised and adorable. Use your black edible marker to draw three or four whiskers on each marshmallow cheek and a tiny curved mouth below the nose for expression.
- Craft the Ears:
- Fold each white cupcake liner in half, then cut it into an ear shape—you're looking for elongated ovals that stand upright. Tape or glue two ears to the inside back rim of each cup so they stick up and out like a real bunny's.
- Serve or Store:
- These are best enjoyed immediately when everything is still fresh and crisp, but you can refrigerate them for up to four hours if you're prepping ahead. Just keep them covered so the marshmallows don't dry out and the candy eyes stay glossy.
 Pin
Pin There's something magical about watching someone's face light up when they realize their food is looking back at them with edible marker whiskers. These bunny cups became a tradition in our house not because they're complicated, but because they make eating fruit feel like playtime instead of obligation.
Customizing Your Bunny Cups
The beauty of this recipe is that you're working with colors and flavors you already have, so feel free to swap fruits based on what's ripe or what your kids actually eat. I've made versions with raspberries instead of strawberries, added mango for tropical brightness, and once made an all-berry version because that's what was on sale. The fruit ratios aren't strict—this is one of those recipes where your instincts matter more than measurements.
Making Them Allergen-Friendly
If you're serving kids with allergies or dietary restrictions, this recipe is actually easier to modify than most. Swap standard marshmallows for vegan ones, use candy-free eyes made from small berries or fruit leather cutouts, and choose jellybeans carefully for gelatin and dyes. I've made versions where the entire face is edible—using blueberries for eyes, a strawberry slice for ears folded into the cup rim, and a raspberry for the nose.
Serving Ideas and Storage
These cups fit perfectly on a picnic blanket, Easter brunch table, or lunchbox when you're traveling—the clear plastic means everyone can see the fruit inside, and the bunny face makes them instantly Instagram-worthy if you're documenting the moment. They're also brilliant for parties because kids can customize their own bunny faces if you set out all the decorations buffet-style and let them assemble.
- Prep all your fruit and decorations separately the morning of, then assemble the bunnies no more than two hours before serving.
- Pair these with lemonade, fruit punch, or milk for a complete snack that feels fancy but took minimal effort.
- If you're making extras, store fruit-filled cups and decorations in separate containers, then assemble right before eating for maximum freshness.
 Pin
Pin These little bunny cups are proof that the best recipes are the ones that make people smile before they even take a bite. They're simple enough that you'll make them again without hesitation, and special enough that they'll be remembered.